|
|
|
|
| Place mouse over 'Training' menu above to display extra options |
| Page Location: Home > Training > Information Sheets > #26 Imaging ScreenMaster with a VistaFax Thermal Copier |
|
|
|
|
| Place mouse over 'Training' menu above to display extra options |
| Page Location: Home > Training > Information Sheets > #26 Imaging ScreenMaster with a VistaFax Thermal Copier |
|
|
|||
|
|
|||
|
|
|||
|
|
 Imaging RISO ScreenMaster on a
VistaFax Thermal Copier
Imaging RISO ScreenMaster on a
VistaFax Thermal Copier
In order to keep the RISO ScreenMaster original artwork together, it is necessary to utilise a carrier to facilitate passage of the materials through the thermal copiers.
There are different types of carriers for the purpose and in the main all are satisfactory. The 'acetate' carrier is the most commonly used for the purpose.
Test a small piece of mesh prior to imaging your design in order to test the imaging ability and settings of your machine.
IMPORTANT NOTICE |
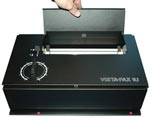
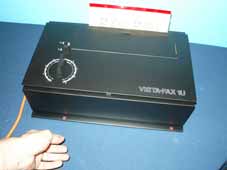
| There are two types of thermal copiers - belt & roller types - the steps described below will vary slightly according to the type and brand of thermal copier being used. These instructions are for roller type VISTA FAX models [1UF model pictured]. If you require further assistance, please contact us by e-mail . . |
How to image a screen
T
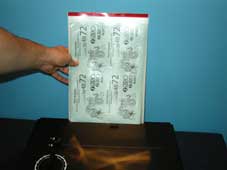
he VistaFax has a heat element that produces a fixed heat and adjusts the ‘intensity’ by use of speed, rather than adjusting the actual heat itself. To increase the heat the speed is slowed and vice versa to lighten the heat.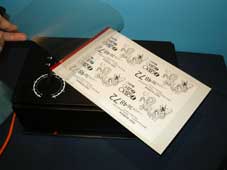 | Step 1 Artwork can be hand drawn, photocopied or a computer laser print - as long as it’s carbon based it will work. For details on artwork types - click here . . Lift the cover and place your artwork 'face up' inside the carrier. |
 | Step 2 Cut your ScreenMaster to size and insert this into the carrier, over your artwork, with the film side [smooth] down against your artwork. Turn the machine on and feed the carrier into the front of the machine, it will ‘grab’ the carrier and fed it through out the back. Remove your imaged screen from the carrier and remove the artwork from the back of your imaged screen. |
 | Step 3 Turn the machine on to the required setting [5 is normally used for photocopies/ laser prints] and feed the carrier into the front of the machine. |
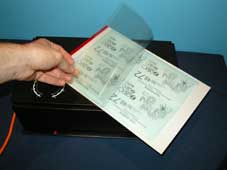
 | Step 4 The machine will ‘grab’ the carrier and pull it through, turning the heat element on as it passes through and push the carrier out the back of the machine. Remove your imaged screen from the carrier and remove the artwork from the back of your imaged screen. |
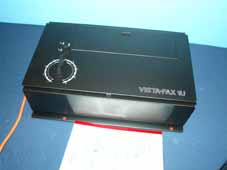
 | Step 5 Support the carrier as it comes out the back of the machine. Do not pull it out/ through the machine, just support it's weight as it comes through. |
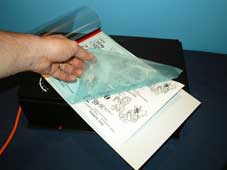 | Step 6 Lift the cover and remove your imaged screen from the carrier. As pictured left, the screen has now been imaged. Check a corner to see the screen has been imaged correctly [you may need to adjust your setting if required].
|
With your screen now imaged you are ready to mount your screen to a frame and commence printing.