|
|
|
|
| Place mouse over 'Training' menu above to display extra options |
| Page Location: Home > Training > Information Sheets > #22 Fundraising with Screen Printing |
|
|
|
|
| Place mouse over 'Training' menu above to display extra options |
| Page Location: Home > Training > Information Sheets > #22 Fundraising with Screen Printing |
|
|
|||
|
|
|||
|
|
|||
|
|
Fundraising with Screen Printing
A large range of fundraising applications are available, using even just the basic of equipment, to create interactive, fun and profitable results.
Screen printing allows dozens of different applications - t-shirts, tea towels and bags are the most popular as these items are practical and can actually be used after purchasing.
No screen printing experience is required to start. Established in 1969, NEHOC's many years of experience and high level of customer support ensures your fundraising activity runs smoothly and most importantly, profitably. Every package receives free instructional video demonstrations, ongoing lifetime support, fundraising cost calculators and of course fundraising ideas, instructions and guides to help you run your fundraising activity.
Base equipment required to start is contained in the Fundraising Package, to which you can add additional ink colours, larger frames/ squeegees, etc.
Cost, Price & Profit
Of course an important step not covered below, and the most important of the whole project, is calculating your costs and the return you should receive from the fundraising event - this is after all the whole point of the exercise.
There are two methods of obtaining you sale price and costs -
Costs are simple to calculate based on any equipment [remember for subsequent events you don't have the initial purchase cost], inks and t-shirt [or bags, tea towels, etc].
 Equipment
Additional recommended items include 2 to 6 x 1 litre standard fabric inks colours of your choice, t-shirts, table, protective cover, aprons/work clothes, bucket of water plus chux cloths & a few empty ice cream buckets [always useful to have on hand] to wash screens or hands, masking tape and a pen for customers name on the print, a length of rope to create your drying line and some pegs.
Example: Hold a small art class where everyone submits a piece based on a common theme, then have the group judge the best 2 or 3 pieces. Designs can be A5, A4 or a combination - as the Fundraising package comes complete for both sizes.
Step 2:
Create the screens in advance - anyone can do this using the chemical
free operation of the NEHOC system. All systems come with a FREE Training CD
with video demonstrations, a colour Quick Use Operation Guide and Full Operation
Manual.
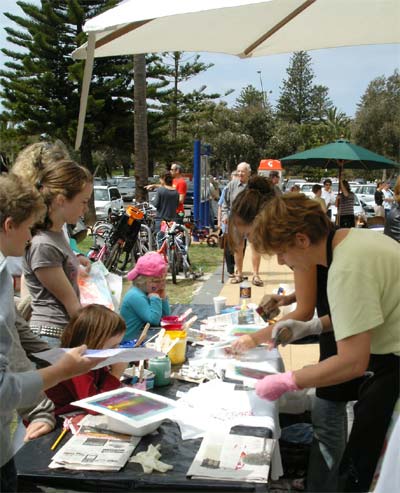
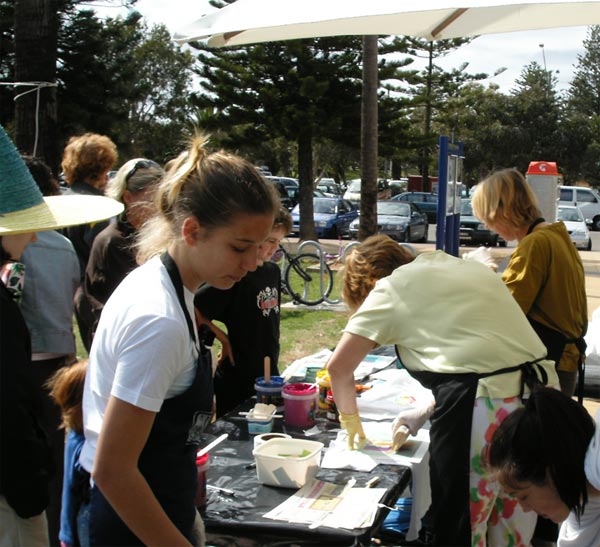
The process is safe to use with children and ideal for incorporation into a class or group activity.
| Step 3: Prepare for the event by getting your equipment and area ready: | |
|
|
|
 |
|
Screen printing items for sale produces practical & useful items that return a greater long term profit though both the money generated and importantly the practical use of the item the person receives i.e. bags and uniforms - You can 'Kill 2 birds with 1 stone' as they saying goes.
Did you know you can charge an extra $2 for an item that lasts more than 5 minutes? Chocolates & confectionery are commonly reordered each year, however if your target customer still has pay for a t-shirt/ tea towel/ bag/ uniform/ etc. the felling can often leave us annoyed and upset we are constantly handing over $$.
We are so confident you can do it yourself, that if you can not screen print using our equipment [after watching the training video or reading & following the instructions!], we will take the equipment back and refund your money.
The key is starting with the right equipment and using a good piece of artwork to create your screens. We give you only the essential equipment required to start printing with the imaging machine, mesh, frames, squeegee, inks, table adhesive [to hold the item still whilst printing], plus full Training Video on CD and manuals.
Layout of the area is similar, with unprinted items on the left, your print area in the middle with your print board, screen, ink & squeegee. On the right is where you place your printed items.
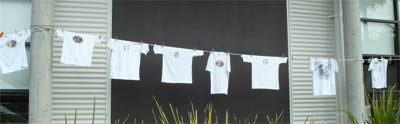
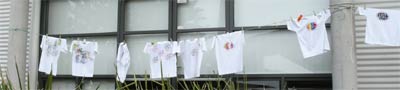
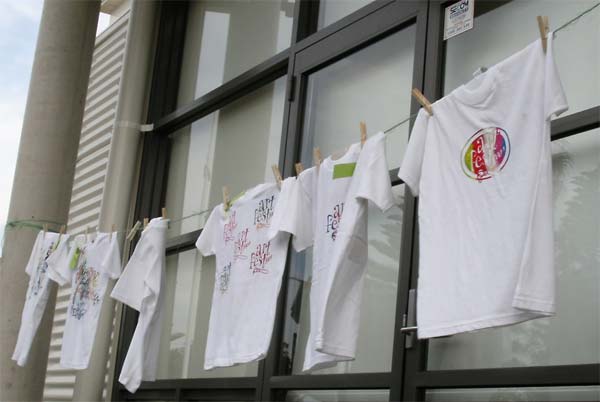
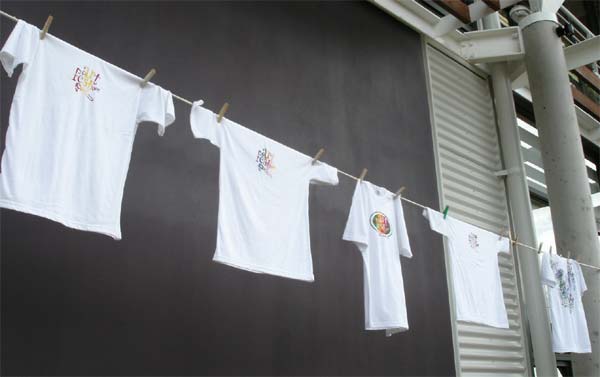
Depending on the item you print you can set this out differently. T-shirts are best hung to dry as this takes up less space, while tea towels and flat items can be placed on boards. How you dry your items depends on the available room. A print normally takes about 5 minutes to touch dry, so you can stack items.
Remember all printed items must be heat set once printed, details of this process can be found online - click here . .